Start from any data table or graph, and click the Analyze button. There is no need to first select a range of data to analyze. Prism completely ignores any selection you made before clicking the Analyze button.

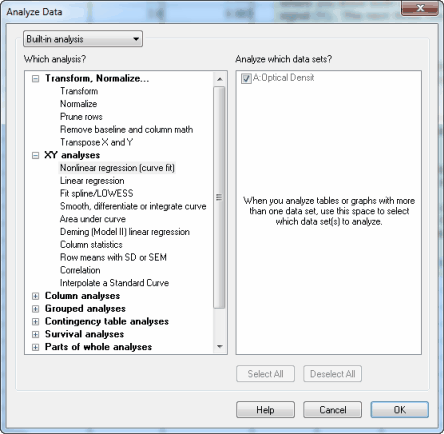
Step 1. Analyze dialog
The analyze dialog appears. Make sure the drop down on the upper left is set to 'Built-in analysis', and choose an analysis.The right half lets you choose to only analyze selected data sets. It is not possible to choose a subset of rows to analyze -- Prism always analyzes them all.
Step 2. Analysis parameters dialog
Each analysis dialog has its own parameters dialog. Read about individual analyses to learn about the choices.
If you are unsure about an analysis choice, click the Learn button in the dialog to go to the appropriate help topic.

Step 3. View the results
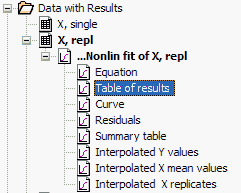
Prism places the results into new sheets in the Results section of your project. These results sheets are saved with the project. At any time in the future, you can view the results, review the analysis choices, and change those choice to update the results.
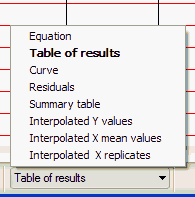
Some results are presented on several sub-pages. Choose a sub-page to view using the navigator (on the left) or the navigation toolbar (at the bottom).
Step 4. Analysis checklist
Click the Analysis checklist button in the Interpret section of the Prism toolbar to review a list of questions that will help you interpret the results..
